Sunday, July 13, 2014

Oeufs en Cocotte (Eggs in Pots)

No one does brunch like the French.  At least in my opinion.  French brunch food is usually very elegant, but with few ingredients.   I am often intimidated by French cuisine and am reluctant to dive into most of the recipes, especially the desserts.  However, this recipe is very simple and yummy.  I came across this recipe scouring through one of my French cookbooks.

One of the main ingredients in this dish, crème fraiche, is new to me and I have come to love it! So much that it has become an obsession, of late, to acquire all recipes that can be made with this wonderful, velvety, luscious cultured cream. It is comparable to sour cream except that it is thicker, it does not curdle when cooking and it has a more savory flavor.  The French and Italians use this luscious cream as a topping on soups instead of sour cream.  And I have adopted this practice also.

For this recipe you will need the following ingredients:  - 1 Egg
                                                                                           - 2 huge tablespoons of crème fraiche
                                                                                           - fresh dill (however to your taste)
                                              - salt and pepper
                                                                                           - toasted or hard crusty white bread


This dish is usually served in ramekins, but I chose to use one of my tea cups.  I think using a colorful tea cup makes the presentation of the food a little more elegant and appealing.

Put one large dollop of the decadent crème fraiche in the bottom of your tea cup (or whatever small dish you are using). 


Crack an egg over the crème fraiche then sprinkle some salt and pepper.


Spoon another large dollop of crème fraiche on top of the egg and then sprinkle the fresh dill to your level of taste.

Place tea cup (or ramekin) in a baking dish and poor enough lukewarm water into the dish to come halfway up the sides.  Bake at 350 for 15 minutes or until the egg yolks are set to your liking.   I like my eggs a little runny so you can cook for a little longer if you want a more firm texture.

You can choose to add the dill at the end if you do not want to bake it with the eggs and instead just use the herb as a garnish.

Now this dish is usually served with crusty white bread.  I did not have any on hand so I toasted whole wheat.  The French would never use whole wheat!  I think they consider it a sin!  You can use whatever you have on hand.  Just make sure that whatever bread you choose to use with this dish is either a white crusty hard loaf or one that you toast yourself to achieve the crunch.


Enjoy!

Sunday, June 24, 2012

Coconut Thai Curry Noodle Soup

Soup on a hot day!  I know. It is 93 degrees here in Atlanta and I am making  soup.  I have to confess that I am a soup fanatic! Fall and winter can never come fast enough for me.  Not only are fall clothes the best looking, but food during the fall and winter seasons are also hard to beat.

This soup is one that I make all the time.  There is the base recipe for the broth and the rest of the ingredients are just whatever you want to throw in.  Make it your own.  The soup made in this post uses ingredients I already have in my pantry.  I love Asian food and always keep these ingredients on hand.

Ingredients for the broth base: 2 cups of chicken or vegetable broth
                                                   14-ounce can of coconut milk (light version can be used if desired)
                                                   1 tablespoon of curry powder. or paste
                                                   Any noodles you desire (however much you want)

I was out of udon noodles, which is usually used in this recipe, and substituted whole grain linguine in it's place.  If you really want to get authentic, fresh ramen noodles can be bought from any local Asian store.  The red curry is used instead of the golden as it adds more heat to the dish.  Curry paste is more preferable to me, but there was not enough paste left in the jar so powder was used.


I also included a picture of the curry paste:


Other ingredients in this dish: mushrooms, scallions, thinly sliced cabbage, shrimp and bean sprouts (another name for them is mung beans).  I did not measure any of these nor the noodles. Just throw in as much as you like. (Not pictured)

1. Put broth, coconut milk, curry, cabbage and mushrooms in a pot and bring to a boil.  Note: make sure that after you add the broth, milk and curry that you whisk it smooth before adding the other ingredients. Do not want any clumps of curry in your soup.

2. Once boiling turn down to a simmer and add noodles.  Let noodles cook for about 5 minutes.  Then add shrimp to mixture and cook about 3 more minutes. You can add the bean sprouts depending on how crunchy you like them at the beginning of the recipe or 5 minutes before it is done for more crunchiness.

Note: Since linguine was used the noodles have to cook longer than if you used ramen or udon which would cook quicker. I also half my noodles before cooking them so they are shorter in length.

3. Once done pour into soup bowls and serve!


Some variations I have used before are adding cilantro as a garnish, adding 1/2 tablespoon of Asian chili paste, shredded carrots, snap peas and squeezing lime into the soup.  Use whatever ingredients you want to make it appealing to the senses. I have made a vegetarian/vegan version by using just vegetable broth and taking out the shrimp!  The possiblities are endless.

Note:  Curry is very good for the digestive system.  Curry also contains the herb turmeric which is thought to help fight cancer.

Enjoy!

Sunday, June 17, 2012

Portabella Spinach Bake

Mushrooms never get enough love.  It is the one vegetable that I find so many people either like or don't.  Or, they like them cooked or cold on a salad.  There is no in between on this subject.  I have yet to find many like myself who love mushrooms regardless of how they are cooked or what they are served with!

This recipe is one I started making light years ago when I first started living on my own.  It can be cheap and easy to make in a snap.  Very tasty too.  I have seen it made on some Italian cooking shows and every version are similar in ingredients.

The original recipe called for a slice of mozzarella to go on each mushroom, but I prefer to grate my cheese or buy grated cheese.  In this recipe I used the Publix brand six cheese Italian blend and it works well.  I have also used just a mixture of parmesan and mozzarella.  Just go with whatever works for you.  This recipe has no measurements and it can be changed up however to fit one's taste.

Ingredients: Marinara or any pasta sauce (I used publix brand)
                   Portabella Mushrooms
                   Mixture of any Italian cheeses (I used publix brand)
                   Red Pepper
                   Fresh Spinach (chopped)
                   Pepper and Salt to taste


Step 1:  Preheat oven to 375.  To clean the mushrooms just take a damp paper towel or rag and gently rub the mushrooms. You never want to rinse mushrooms directly for they will absorb the water. I like to spoon out the dark little gills as I call them.  Or just leave them in for a more meatier texture. It is best to take the stem out. The stem is very woodsy and does not taste good.

 In a glass baking dish pour a thin layer of the marinara sauce and spread.I also put a think layer of cheese.   Then place mushrooms cap side down in dish. Sprinkle with pepper and salt.  Put chopped spinach in mushroom cap.

Note: I usually use my own homemade marinara for this dish as it is thicker than store bought brand and is not as runny in the end. If you use store bought be sure to season it up a little to your taste. 


Step 2: Put cheese on top of spinach and then add a thin ring of red pepper.  Sometimes I will also add a spoonful of the sauce on top of the mushroom before baking.


Step 3: Cover with foil and bake for up to 45 minutes depending  on your oven.  Baking this dish covered with foil allows steam to help cook and soften the mushrooms.

The last five minutes I take the foil off and add a little more cheese to melt on top. 


Enjoy!
 

Sunday, June 3, 2012

Black Bean Lasagna Rolls

Lasagna is my favorite meal.  I could it eat it breakfast, lunch or dinner! There is never a bad time to eat lasagna.  I have made different lasagna recipes many different ways. I really never match up to my mom's version or my dear friend Christy's lasagna, but I have found a few recipes that satisfy me and my dinner guests when served. With this recipe I am going against a most ardent belief.  That is making lasagna healthy! Now before we all gasp in disbelief, I will say that lasagna should NEVER be made with fat-free cheese.  NEVER.  That is just culinary blasphemy!

In this recipe reduced-fat Monterey Jack cheese is used as also part-skim ricotta cheese. And it turned out delicious.  It took me a while to come around to using reduced-fat cheese in lasagna, but after giving it a try and finding that there is still flavor, I am satisfied that every now and then a little reduced-fat cheese will not hurt.  But it should not be used on a regular basis!

This recipe is a vegetarian lasagna. I have many vegetarian friends and for the most part, I eat vegetarian.
After many attempts at making this recipe I have come up with a version that is like.  As always, you can tweak it to fit your tastes.  It is an inexpensive meal to make and one that can be changed up with many different ingredients.

Some of the pics did not turn out well so there are only the finished product,  but the instructions are detailed and are easy.

Ingredients:  8 ounces of uncooked lasagna noodles (I used 100% whole wheat )
                   1 cup of shredded reduced-fat Monterey Jack cheese/and a little extra for topping
                   1 (15-ounce) carton of part-skim ricotta cheese
                   1 (4.5 - ounce) can chopped green chilies, drained
                   1/2 teaspoon chili powder
                   1/2 teaspoon cumin
                   1/8 teaspoon of salt
                   2 cups drained canned black beans (you can buy no-salt or just rinse the regular ones)
                   1 (15 1/2 ounce) jar of no-salt added salsa (or just use the homemade salsa in my
                   previous post)
                   Fresh cilantro (as much to taste)
                   Cooking spray

Preheat oven to 350.

Cook the lasagna noodles according to the directions and under cook by a minute or so.

While the noodles are cooking combine the cheeses, green chilies, chili powder, cumin, cilantro (as much as you like) and salt in a bowl.  Note: I add just a tablespoon of salsa in the mixture.  Also it is best to let the ricotta sit out and come to room temp before this step so it is easier to stir.

Once  noodles are cooked and cool to the touch, lay each noodle out and spread cheese mixture over 1 side of each noodle. Then spoon black beans over the cheese mixture.  Roll up noodle like a jelly-roll.

Place lasagna rolls, seam side down, in an 11 x 7 inch baking dish coated with cooking spray. I lightly coat the lasagna rolls with salsa and some cheese.  Cover will foil and bake for 25 minutes or until thoroughly heated.

Optional: When serving, spoon salsa evenly over rolls and garnish with extra cilantro.


Enjoy!!!

Saturday, May 5, 2012

Best Salsa Recipe

Happy Cinco de Mayo!  This day calls for a great Salsa recipe.  And I have one!  Over the years I have experimented over and over with different salsa recipes.  I finally found one that is as close to restaurant style as possible. This recipe originated from Ree Drummond who runs The Pioneer Woman website. In fact she titled the blog "Restaurant Style Salsa".  I have changed it to fit my tastes.   There are so many uses for salsa.  You can put some in your scrambled eggs or in any soups that you are making that need to be spiced up. If you are a salsa lover like me you can eat this anytime of day!

Ingredients: 1 can (28 ounce) of Whole Tomatoes with Juice
                  2 cans (10 ounce each) of Rotel diced tomatoes with green chilies
                  1/2 cup diced red onions (original recipe calls for 1/4 cup regular onions)
                  3 cloves Garlic, minced (original recipe calls for 1 clove)
                  1 whole Jalapeno, sliced thin (I buy the biggest one I can find)
                  1/4 teaspoon of Sugar
                  1/4 teaspoon of Salt
                  1/4 teaspoon of ground Cumin
                  1 bunch of Cilantro (recipe calls for 1/2 cup)
                  1 whole Lime juice (recipe calls for 1/2 Lime)

Throw everything in a food processor (see note below) and pulse.  I pulse 15 pulses which is perfect for me.  Refrigerate for at least an hour before serving.

Now let me note that you will need a very large food processor for this makes a lot of salsa.  If you do not have a large food processor then just process or blend in a blender by the batches. 

Also, I usually use store brand whole tomatoes and tomatoes with green chilies.  If you want to buy the name brand that is fine.  In this recipe I used Publix store brand.

I like my salsa hot so be sure to test seasonings and adjust as needed. Keeps for at least 3 days in fridge.  The salsa gets kind of runny after the third day.

I usually serve these in decorative bowls. (or just a big glass bowl if it is just my husband and I eating)


And I also jar the salsa up and give away to my neighbors.  They love it.


Enjoy!


Sunday, April 22, 2012

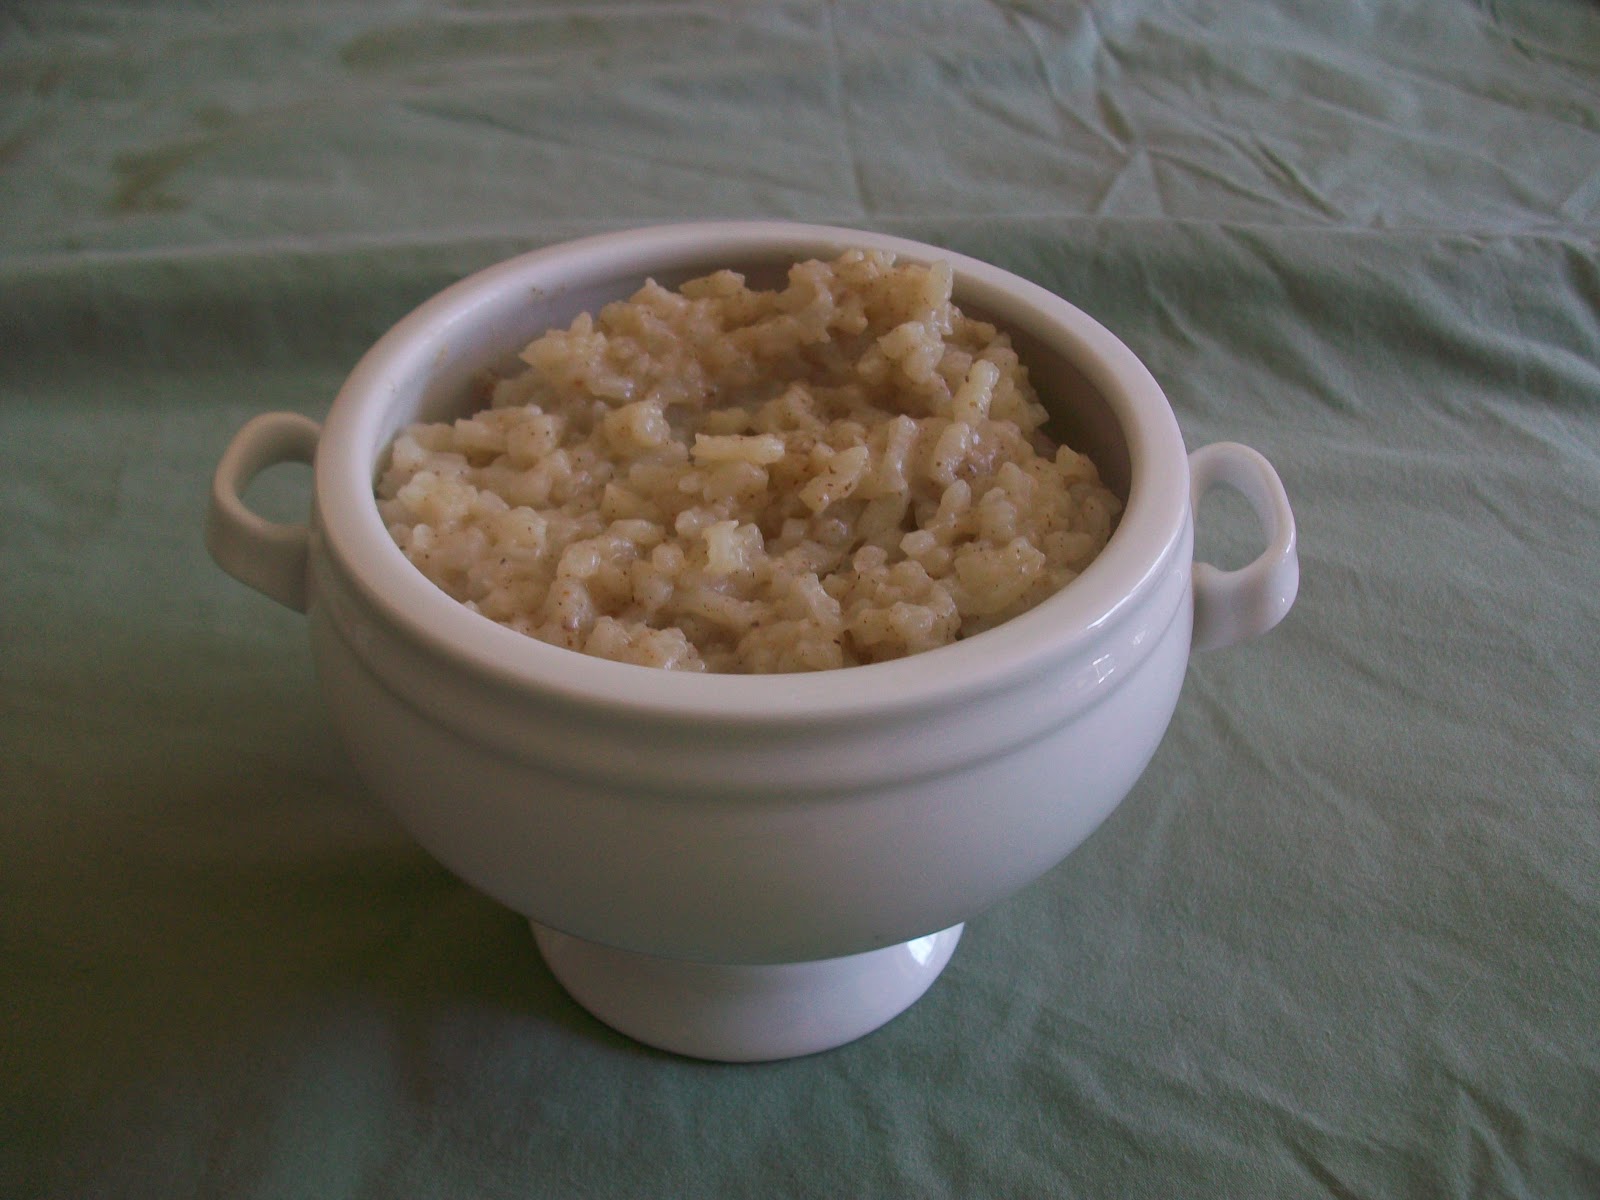
Vanilla Rice Pudding with Cherries

Who doesn't have a favorite comfort food? For some it can be mac-n-cheese, a big heaping bowl of pasta or just a real good hamburger. One of mine and my step-daughter's favorite is rice pudding.  There is just something about homemade rice pudding that makes me feel all warm and comforted.  The basic recipe is just milk and rice.  And then you can get as creative as you want with the flavorings and toppings. 

This recipe is adopted from Ellie Krieger who is a nutritionist and cook book author.  I have made many various rice pudding recipes over the years. I like this one because it is very simplistic and full of flavor without any of the fat usually in rice pudding.

The rice used in this recipe is Arborio rice which is usually used in Risotto dishes because it becomes a rich creamy rice once cooked. The creaminess of this rice makes the recipe very rich and decadent without having to add high fat heavy cream which is typically used in most rice pudding recipes. Note; I have used brown rice in this recipe before and you will need to use full fat milk when using brown rice. Still wonderful.

Note: The prep pictures did not turn out well so I am going to deviate from my previous posts and just have pictures of the finished product.

Ingredients: 1 cup of Arborio rice
                  2 cups of water
                  3 cups of Vanilla soy milk (I used the Light Silk version)
                  1/4 cup of sugar
                  Pinch of salt
                  1 Cinnamon stick
                  1/2 teaspoon vanilla extract
                  1/4 teaspoon ground cinnamon
                  1/4 teaspoon ground Nutmeg

Extra materials: A dutch oven or heavy pot that can go from stove to oven.

Preheat oven to 375

Bring water to a boil in a medium, heavy bottomed, ovenproof saucepan or dutch oven. Add the rice and cover.  Reduce heat to low and simmer until the rice is almost cooked which should be about 20 minutes.

While rice is cooking, whisk together the soy milk, sugar and salt in a large bowl.  When the rice has cooked and still hot, add the soy milk mixture and cinnamon stick.  Cover and place in the oven.  Cook for 45 minutes.

Once rice is cooked remove from oven and remove cinnamon stick. Stir in the vanilla, ground cinnamon, and nutmeg.  Don't worry if the pudding is slightly liquidy, the liquid will continue to absorb into the rice and thicken as the pudding cools. 

This recipe serves 8.   2/3 cup servings.  Pudding will keep in the refrigerator in an airtight container for 3 days.

Once you have distributed rice among the bowls, you can dust with more cinnamon or nutmeg.


If you want extra flavor you can add cherry pie filling (as I have below) or blueberry filling on top of the rice  pudding. 


Enjoy!!!!!

Sunday, April 8, 2012

Challah French Toast

Breakfast is my favorite meal of the day. Here in the South, breakfast is usually the biggest meal of the day. Especially on the weekends. The weekends provide time to make some homemade pancakes, french toast, waffles or a breakfast casserole. Along the side with some bacon or even just a fruit parfait with yogurt.  There are so many options to play with when it comes to breakfast.  I love french toast. One day I decided to make french toast with Challah bread and I was hooked!  The eggy richness of the bread goes so well with the milk batter that coats the bread. Day old bread is best as it will soak up all the flavor of any mixture you coat it in.

Ingredients:  - 1 loaf of Challah bread
                   - 6 extra-large eggs
                   - 1 1/2 cups of milk
                   - 1/2 teaspoon of vanilla extract
                   - Pure Vermont Maple syrup (no Log Cabin or anything like that)
                   - 1 tablespoon of honey
                   - powdered sugar (as much as you desire)


1. Cut the Challah bread into 1 1/2 to 1 inch thick slices.  Place slices in a wide baking dish.


2. In a mix bowl whisk the eggs, milk, vanilla and honey together.  At this point if you want to add another flavor, such as cinnamon, go ahead and sprinkle some in.


3. Pour egg mixture over bread.  Let sit up to 5 minutes turning once.

4. On a griddle or large frying pan melt 1 tablespoon of butter and 1 tablespoon of oil (use canola or vegetable oil). This mixture prevents the butter from burning.  It is best to use flavorless oil like canola or vegetable to prevent any interference in the taste of the fried toast.   After frying the toast sprinkle powdered sugar on top (to your liking). 

5. Serve with warmed maple syrup and a side of fresh fruit. If you want to get real flavor you can serve with a homemade peach or strawberry syrup.


Enjoy!!!!!